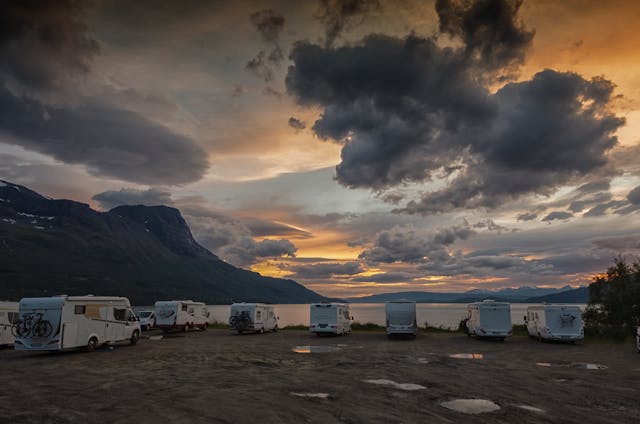
Exploring the country in an RV offers the perfect blend of comfort and adventure. While owning an RV is ideal for frequent travelers, renting one is a fantastic alternative for families who want to experience the RV lifestyle without the long-term commitment.
So, what are the best options for renting an RV for a family trip? The top choices include Outdoorsy, RVshare, and Cruise America. These companies offer a wide range of rental options, from towable trailers to fully equipped motorhomes, making it easy to find the perfect RV for your family’s needs.
Renting an RV is not only a convenient way to enjoy a road trip, but it can also be more cost-effective than traditional travel methods. With the right rental, you can experience the freedom of RV travel without the maintenance and storage concerns of ownership.
Best Ways to Rent an RV for Your Trip
Renting an RV for a family trip is an incredible way to create lasting memories. While choosing the right RV may seem overwhelming, several platforms make the process simple and stress-free.
There are two main ways to rent an RV:
- Traditional RV Rental Companies – Many RV rental companies have physical locations where you can speak with representatives, plan your trip, and ask any questions before booking.
- Peer-to-Peer RV Rentals – Websites like Outdoorsy and RVshare allow individuals to list their RVs for rent, giving you access to a wider variety of options, from travel trailers to luxury motorhomes.
The three most popular RV rental platforms are Outdoorsy, RVshare, and Cruise America. While they all provide excellent rental options, researching each platform will help you find the best deal based on your location, budget, and ideal RV type.
By exploring these options, you can find the perfect RV for your adventure and enjoy the open road with confidence.
Outdoorsy: A Trusted Platform for RV Rentals
Outdoorsy is one of the most popular and reliable platforms for renting RVs. It operates similarly to Airbnb, allowing RV owners to list their trailers and motorhomes for rent. This setup provides a vast selection of rental options, from compact travel trailers to spacious luxury motorhomes.
Why Rent from Outdoorsy?
- Established and Secure – Outdoorsy is a well-known platform, so you don’t have to worry about scams or unreliable rentals.
- Comprehensive Insurance – The company offers rental insurance, giving you peace of mind as you hit the road.
- 24/7 Roadside Assistance – If you run into any issues, help is just a phone call away.
- Customer Support – You can speak with a representative if you need assistance during the rental process.
How Does It Work?
Renting an RV through Outdoorsy is simple:
- Enter Your Travel Dates – Just like booking a flight or hotel, select the dates for your trip.
- Choose Your Pickup Location – Enter the city or area where you’d like to pick up your rental.
- Browse Available RVs – A list of available options appears based on your criteria.
- Use Filters to Narrow Your Search – Customize your search by selecting filters such as the number of beds, rental price, and user ratings.
Pricing Considerations
Keep in mind that the price listed is per night. While RV travel can be cost-effective compared to traditional vacations, it’s not necessarily cheap. Most rentals start at around $100 per night, with prices increasing based on amenities and RV type. Motorhomes tend to be more expensive than towable trailers, so consider your budget and needs before booking.
For more details, visit Outdoorsy.com and start planning your adventure today!
RVShare: A User-Friendly Platform for RV Rentals
RVShare operates similarly to Outdoorsy, connecting RV owners with travelers looking for a rental. However, what sets RVShare apart is its user-friendly website and extensive selection of rental options across the country.
Why Choose RVShare?
- Wide Selection – With thousands of listings, you’ll have plenty of choices, no matter where you’re traveling.
- Easy-to-Navigate Website – Many users find RVShare’s interface more intuitive, with easily accessible filters and fewer clicks required to find what you need.
- Budget-Friendly Filters – You can sort results by the lowest price first, making it easier to find an affordable rental.
- Instant Booking Option – Skip the waiting period and book an RV immediately without needing approval from the owner.
How Does It Work?
- Search by Travel Dates & Location – Enter your trip details to see available RVs.
- Use Filters for a Tailored Search – Narrow down options based on budget, RV type, amenities, and more.
- Check Instant Booking Availability – If you’re in a hurry, select an RV with the “Instant Booking” feature for a hassle-free reservation.
Pricing & Availability
RV rentals on RVShare start at around $65 per night, making it one of the more budget-friendly options. The variety of available rentals will depend on your location—some areas may have a broader selection than others.
With coverage in all 50 states, RVShare is a fantastic starting point for finding the perfect RV rental. Visit RVShare.com to explore your options and start planning your next adventure!
Cruise America: The Traditional RV Rental Experience
Cruise America offers a straightforward, no-frills approach to renting an RV. With 132 locations nationwide, this company provides a more traditional rental experience compared to peer-to-peer platforms like Outdoorsy and RVShare.
How Cruise America Works
Unlike other RV rental websites that display individual listings from private owners, Cruise America operates more like a standard car rental service:
- Enter Your Travel Dates & Pickup Location – Start by selecting when and where you want to pick up your RV.
- Choose Your RV Size – Instead of browsing through various listings, you’ll be presented with base prices for available RV models, including compact, standard, large, and truck campers (availability varies by location).
- Add Essentials – Need cookware, linens, or other travel necessities? Cruise America offers optional kitchen and personal supply kits for convenience.
- Mileage Calculation – Your estimated travel distance is factored into the base price, helping you budget for the trip upfront.
Why Choose Cruise America?
- Clear & Predictable Pricing – No need to sift through different listings—pricing is standardized based on RV size.
- Physical Rental Locations – With in-person pickup and drop-off locations, Cruise America feels more like renting a car, making it less intimidating for first-time renters.
- Exclusive Deals & Discounts – The company frequently offers coupons and limited-time discounts, making it possible to score a better deal.
- Larger RVs for the Price – Compared to Outdoorsy and RVShare, some travelers have reported getting a bigger RV at a similar price when renting through Cruise America.
For those looking for a hassle-free, structured rental process, Cruise America is an excellent option. Visit CruiseAmerica.com to find a rental location near you and start planning your road trip adventure!
Things to Consider Before Renting an RV
Before choosing the perfect RV rental for your family trip, there are a few key factors to keep in mind—especially if you’re new to the process. RV rentals come with various options, sizes, and features, so doing a little homework beforehand can help ensure a smooth experience.
Key Factors to Consider:
- Type of RV – Do you want a motorhome (drivable) or a travel trailer (towable)? Understanding the differences will help you pick the right fit.
- Group Size – How many people are traveling with you? Make sure the RV has enough beds and seating to accommodate everyone comfortably.
- Must-Have Amenities – Do you need a full kitchen, a bathroom, air conditioning, or extra storage space? Prioritize features based on your needs.
- Budget – RV rentals vary widely in price, from budget-friendly trailers to luxury motorhomes. Set a price range before you start searching.
Additionally, plan your route in advance. Knowing where you’re headed, what campgrounds you’ll stay at, and any necessary reservations will reduce stress and ensure a smoother trip.
By considering these factors ahead of time, you’ll be well-prepared to find the best RV rental for your adventure!
Know the Type of RV You Want
The term “RV” covers a wide range of vehicles, including motorhomes, campers, and trailers. Before you get too excited about the RV lifestyle, it’s important to understand the different types available—and what kind of vehicle or setup you’ll need to operate them.
Class A motorhomes are the largest and most luxurious. Driving one feels similar to handling a bus. They typically get about 6 to 8 miles per gallon and offer the most space and high-end features, often ranging from 21 to 41 feet in length.
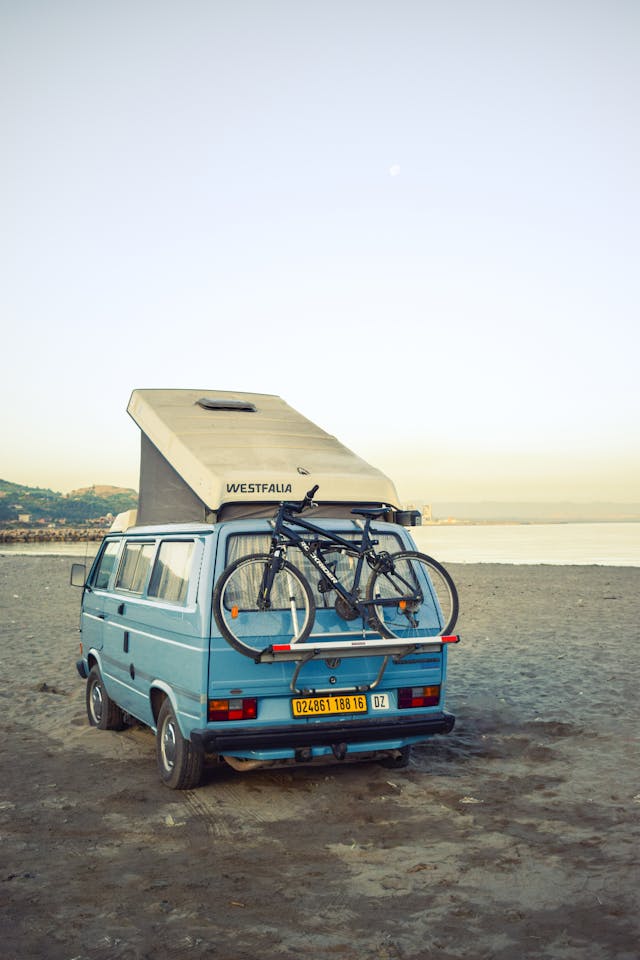
Class B motorhomes, also known as camper vans, are the most compact and fuel-efficient, with around 10 to 15 MPG. They drive like a van, are easy to park, and range from 12 to 20 feet long—ideal for travelers who want something small and simple.
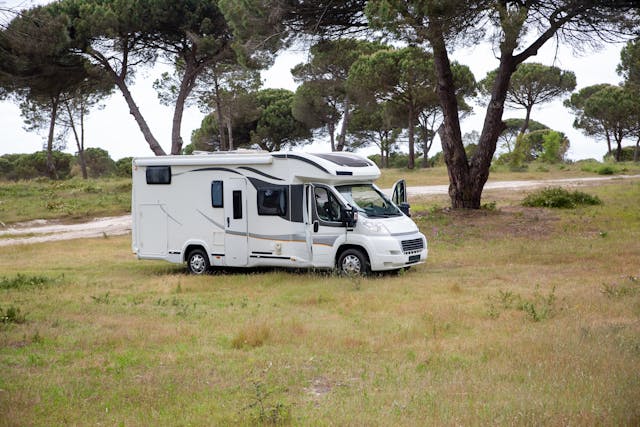
Class C motorhomes are a middle ground. Built on a truck chassis, they feel like driving a large truck, get roughly 8 to 13 MPG, and offer good space and amenities for the cost. They usually fall between 20 and 38 feet in length.
Travel trailers must be towed by another vehicle, typically a truck or SUV. They vary in size (around 21 to 28 feet long) and offer the benefit of being detachable, allowing you to leave the trailer at the campsite while using your vehicle for errands or exploring. They get about 10 to 20 MPG depending on the tow vehicle.
Fifth wheels are also towable but require a full-size truck with a special hitch in the bed. They offer the largest floor plans and most stability while driving, often ranging from 22 to 44 feet. They can include slide-outs and luxurious features and typically get 10 to 18 MPG based on your towing setup.
Before you commit, make sure your vehicle has the towing capacity needed—especially for larger travel trailers or fifth wheels, which not all trucks can handle.
If you don’t already have a tow-capable vehicle, consider renting a motorhome. Motorhomes are self-contained, often equipped with their own generator, which makes them a great option for beginners.
Keep in mind, though, that Class A motorhomes are large and may require a special driver’s license in some states due to their width and weight.
Most importantly, choose something you’re comfortable driving. Your safety—and your family’s—comes first. If maneuvering a big RV feels overwhelming, opt for a smaller model that’s easier to handle.
Know What Amenities You Need
Not all RVs come fully equipped—some may lack a working bathroom or kitchen. If those features are important to you, use search filters to narrow down your options.
Pay attention to details like the number of beds, whether there’s air conditioning, and if pets are allowed (especially if you’re bringing your dog along). These amenities are usually listed in the rental description.
If you’re renting through platforms like RVShare or Outdoorsy, try contacting the owner directly. They can often clarify what’s included—like cookware, bedding, or a generator. Most non-motorized RVs will need a generator, so it’s smart to confirm whether one is provided.
Also, read reviews carefully to see if the listed amenities actually worked during other renters’ stays.
Being thorough can help you save money too. Some rentals are priced higher because of luxury features you may not even need. By focusing on the essentials, you can avoid overpaying for extras you won’t use.
Bottom line: don’t be afraid to ask questions and dig into the details. A little research up front can save you hassle—and disappointment—later.
Sometimes It’s Not the Cheaper Option
You might see an RV rental advertised for as low as $65 per night, which sounds like a great deal. But, like booking a flight or hotel, hidden costs can quickly add up—things like taxes, insurance, and cleaning fees are almost always tacked on.
For example, I looked at a Class C RV on RVShare listed at $97 per night and selected a 10-day rental. The base price came out to $970. Not bad—comparable to the cost of a budget motel for the same period.
But once I factored in all the extras, the total jumped to over $1,500, not including a $750 refundable deposit. And remember, this was a modest rental—not a luxury Class A motorhome, but a basic unit with two full-size beds and a twin. Nice, but nothing extravagant.
Then there’s gas. RVs aren’t known for great mileage, and depending on how far you travel, fuel costs can climb quickly.
All in, this hypothetical “budget” trip is nearing $2,500.
That might be more than you expected for a family getaway. But many RV travelers will tell you: it’s worth it. Spending time together, sharing meals, and sleeping under the same roof builds memories that can’t be matched by separate hotel rooms or airport layovers.
RV travel isn’t always the cheapest option, but it can be a great value—especially for larger families. If you’d otherwise be buying multiple plane tickets and booking multiple hotel rooms, an RV might actually save you money and bring your family closer together.Sometimes It’s Not the Cheaper Option
You might see an RV rental advertised for as low as $65 per night, which sounds like a great deal. But, like booking a flight or hotel, hidden costs can quickly add up—things like taxes, insurance, and cleaning fees are almost always tacked on.
For example, I looked at a Class C RV on RVShare listed at $97 per night and selected a 10-day rental. The base price came out to $970. Not bad—comparable to the cost of a budget motel for the same period.
But once I factored in all the extras, the total jumped to over $1,500, not including a $750 refundable deposit. And remember, this was a modest rental—not a luxury Class A motorhome, but a basic unit with two full-size beds and a twin. Nice, but nothing extravagant.
Then there’s gas. RVs aren’t known for great mileage, and depending on how far you travel, fuel costs can climb quickly.
All in, this hypothetical “budget” trip is nearing $2,500.
That might be more than you expected for a family getaway. But many RV travelers will tell you: it’s worth it. Spending time together, sharing meals, and sleeping under the same roof builds memories that can’t be matched by separate hotel rooms or airport layovers.
RV travel isn’t always the cheapest option, but it can be a great value—especially for larger families. If you’d otherwise be buying multiple plane tickets and booking multiple hotel rooms, an RV might actually save you money and bring your family closer together.
Other Places to Find RV Rentals
In addition to well-known platforms like RVShare and Outdoorsy, there are several other great options to explore:
- USA RV Rentals – Offers a simple 3-step booking process and competitive pricing. With multiple locations nationwide and optional unlimited mileage, it’s a solid choice for cross-country trips.
- Apollo RV – Known for its user-friendly website, Apollo primarily operates in California, Colorado, and Washington. If you live in or near those states, it’s a reliable option.
- Campanda – Similar to RVShare and Outdoorsy, Campanda’s site features helpful filter icons to guide you through the different types of RVs—perfect for beginners still figuring things out.
- Expedition Motorhomes – Offers high-quality rentals with convenient delivery service, but is currently limited to California.
There are plenty of resources out there to help you find the perfect RV for your trip. Always check ratings and reviews to get a sense of past renters’ experiences—and with a little research, you’re sure to find the right fit for your family adventure.
Related Questions
How much does it cost to rent a Class A motorhome?
Rental prices vary depending on the age and features of the RV. Newer Class A motorhomes typically start at around $300 per night, while older models can go for about $150 per night. Extra amenities or sleeping space can raise the price further.
Do you need a special license to drive a motorhome?
In most states, you don’t need a commercial driver’s license (CDL) to drive a motorhome. However, some exceptions exist:
- Washington, D.C., Wyoming, and Hawaii require a CDL if the RV weighs over 26,000 pounds.
- Indiana and Wisconsin may require a special license if the RV is longer than 45 feet.
How do you get insurance when renting an RV?
RV rental companies usually include insurance as part of the booking process. You’ll provide driver information when filling out the rental form, and the cost is typically bundled into the total rental price. This is one advantage of renting through a company rather than borrowing from a friend.